
From install to first report.
§ 1 Installation
1-1. Install Python and Vanilla in Glyphs
TypeSpan requires Python 3. Open Glyphs.app, go to Window > Plugin Manager, click the Modules tab, and install Python and Vanilla.
1-2. Install TypeSpan via Glyphs Plugin Manager
In the same Plugin Manager window, switch to the Plugins tab. Search for TypeSpan and click Install. Or click here to open Plugin Manager directly.
1-3. Restart Glyphs
After installing both modules and TypeSpan plugin, quit and reopen Glyphs.app to activate TypeSpan.
1-4. Enable TypeSpan
After restarting Glyphs, go to View > Show TypeSpan. A checkmark next to the menu item indicates it is active. TypeSpan will now begin tracking time as you edit glyphs.
§ 2 First Use
2-1. Opening a Glyph to Start Tracking
Double-click any glyph in the Font view to open it in the Edit view. TypeSpan immediately starts tracking time for that glyph. You will see a small timer appear inside the editing canvas. When you navigate to a different glyph, the timer automatically switches to track the new glyph.
2-2. Automatic Tracking and Pause
To TypeSpan, Glyphs is always in focus. If you switch to another application (a browser, a terminal, Finder), TypeSpan will pause tracking automatically. When you return to Glyphs, tracking will resume right where you left off. No manual action is required.
2-3. Understanding the Timer Display
The timer shows up to three values depending on your display settings: file time, master time, and glyph time. Each metric has different display options to choose from. All three update in real time while you edit.
| Icon | Meaning | Metrics Options |
|---|---|---|
 | This File Time |
|
 | This Master Time |
|
 | This Glyph Time |
|
 | Pause Tracking | - |
 | Tracking Limit Reached | (Free Plan Only) |
§ 3 Settings
3-1. Using the Context Menu
Right-click anywhere in the Edit view to open the context menu. From here you can quickly adjust the timer position, choose display option for each metric, pause or resume tracking manually, and remove the single glyph’s data from TypeSpan.
3-2. Using the Preferences Window in Glyphs
For further configuration beyond the context menu, navigate to Window > TypeSpan Preferences. Here you can configure Display Layout, Display Font Size, and input your API Key for Pro features.
§ 4 Export Report
4-1. Export Options
Go to File > Export TypeSpan Report... to open the Export Options dialog. Font name, export time, and master name are included by default. Uncheck any of them to exclude them from the report. Click Export and TypeSpan will compress your tracking data and open the report in your default browser.
4-2. Report Overview
The report displays your time tracking data in several views. The summary at the top shows total time, number of glyphs tracked, and the date range covered. Below that, charts break down time by master, by Unicode block, and by individual glyph. A daily activity timeline helps you understand your work patterns over time.
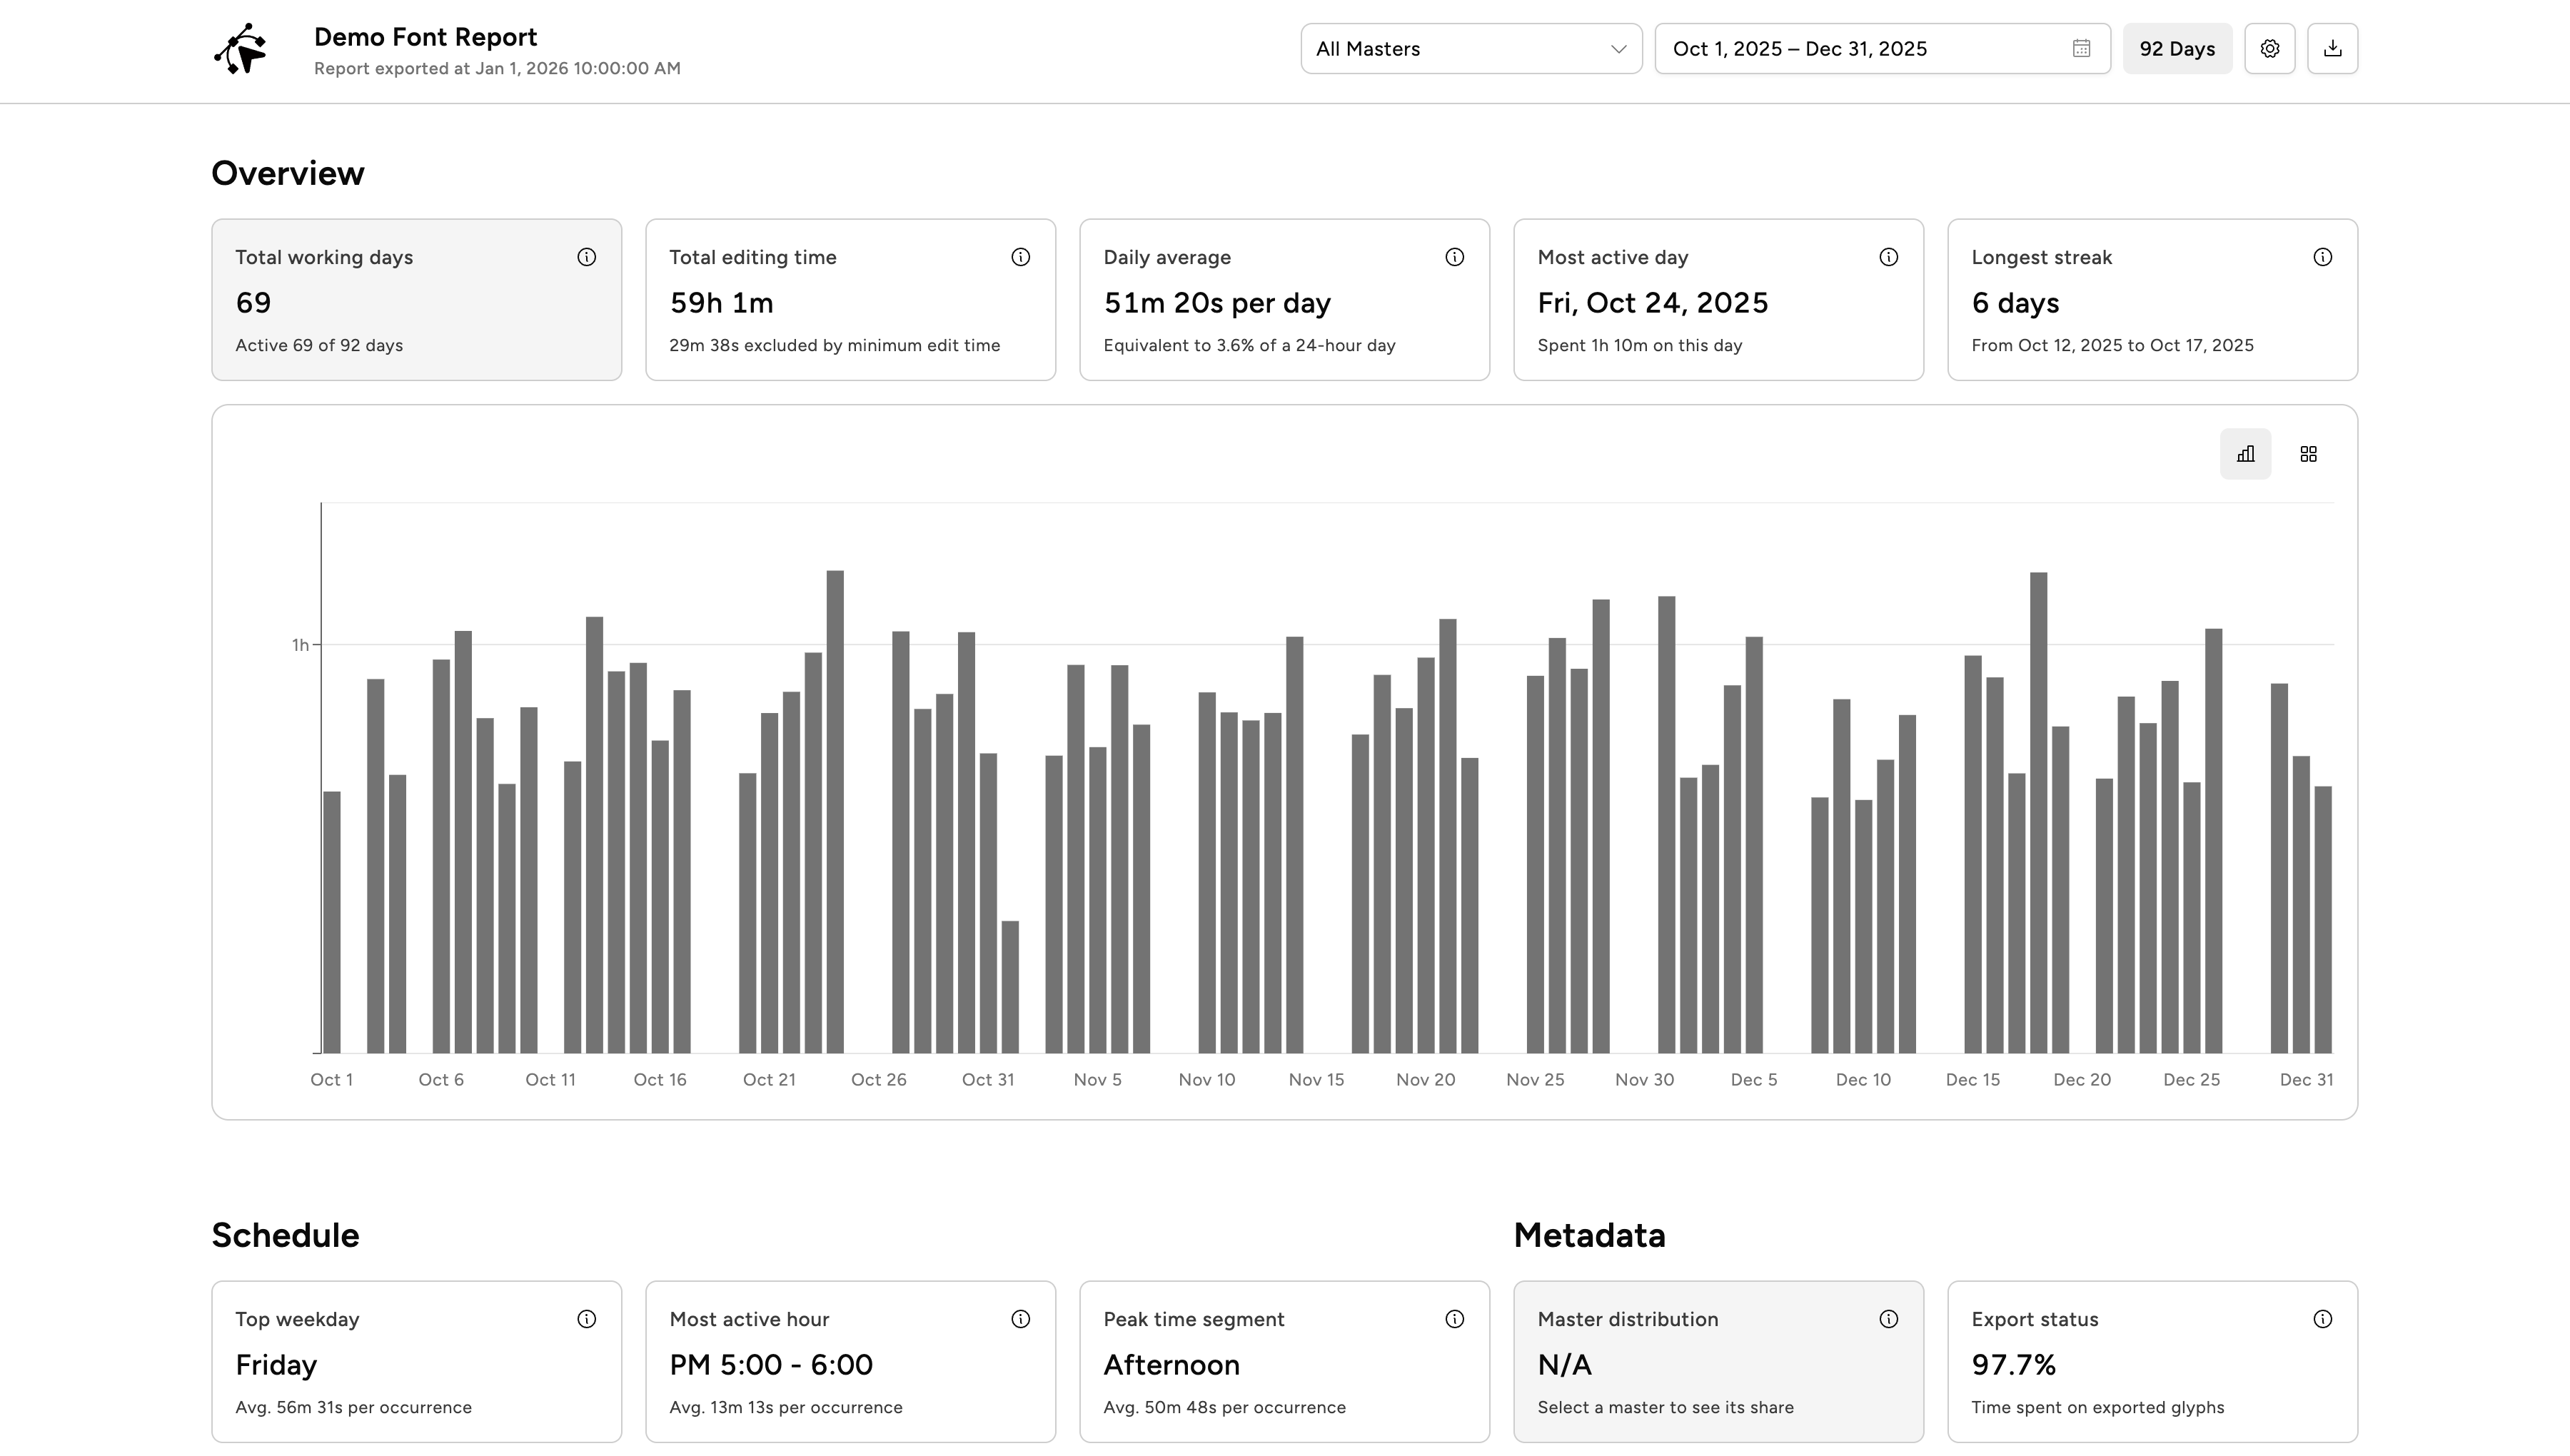
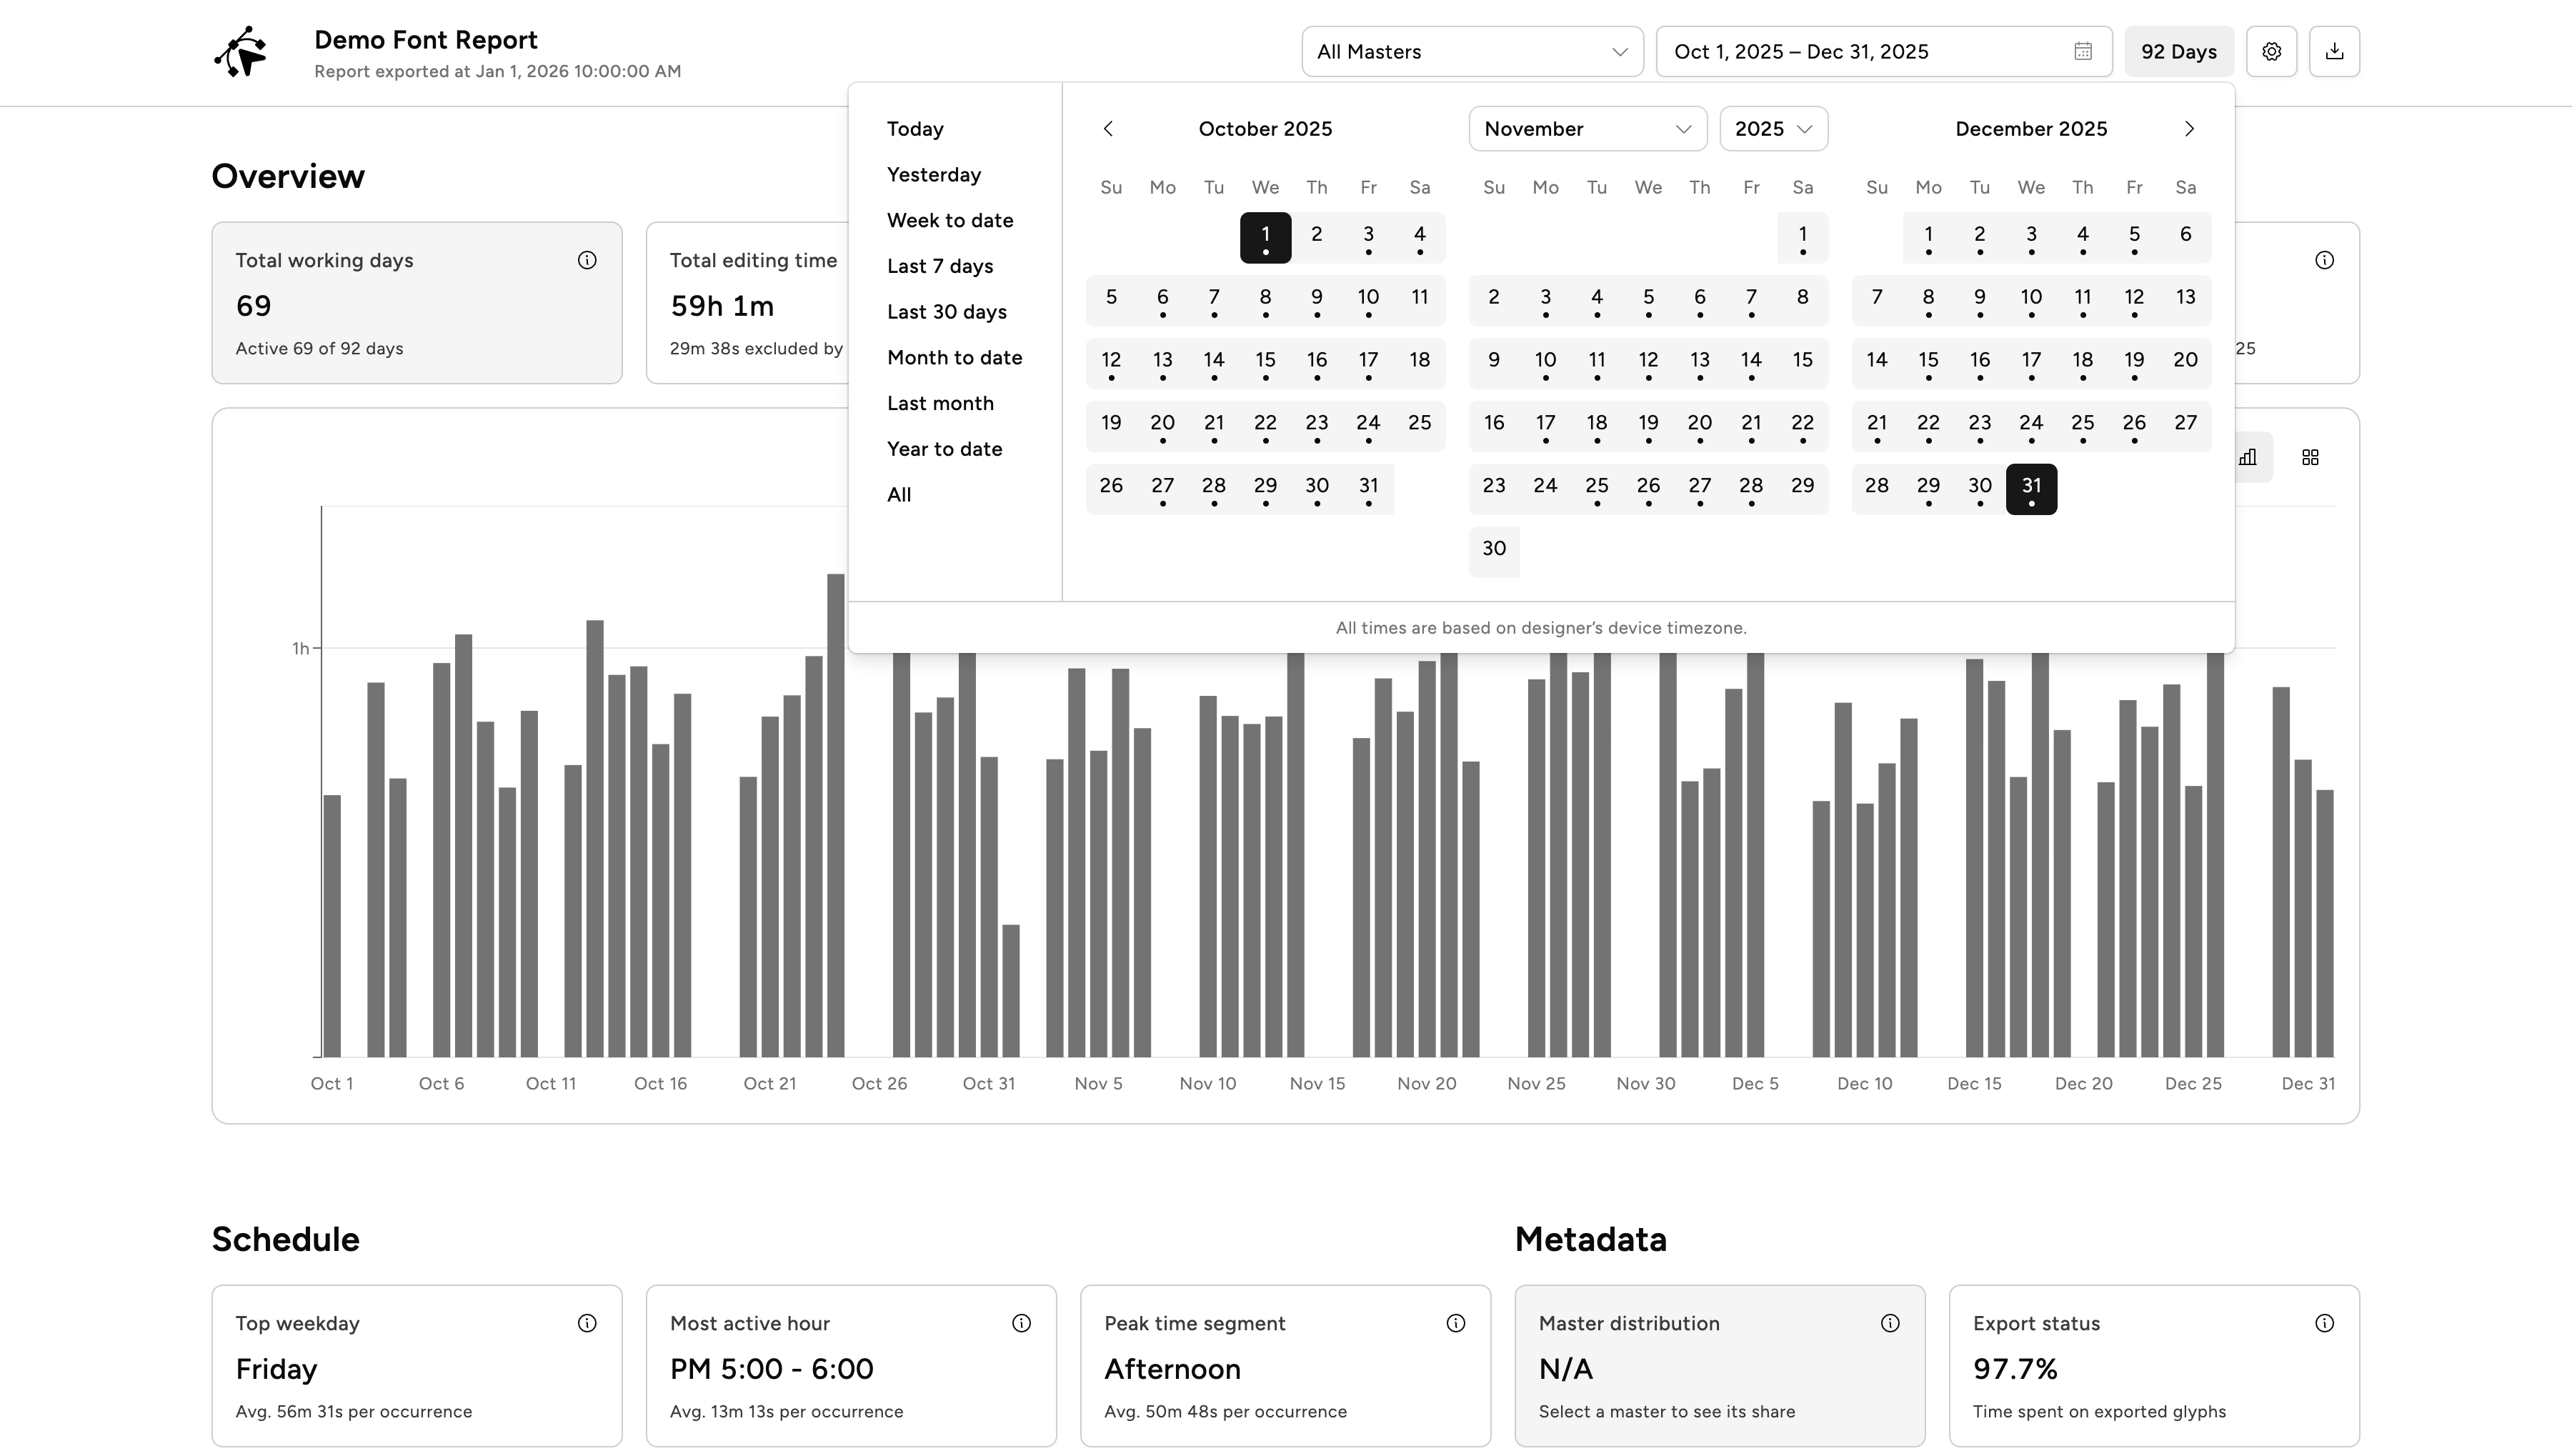
4-3. Choosing a Date Range and Masters
Use the date range picker at the top of the report to narrow the view to a specific time period. You can also filter by master to focus on a particular weight or style. This is useful when sharing a report with a client for a specific project phase without exposing unrelated work.
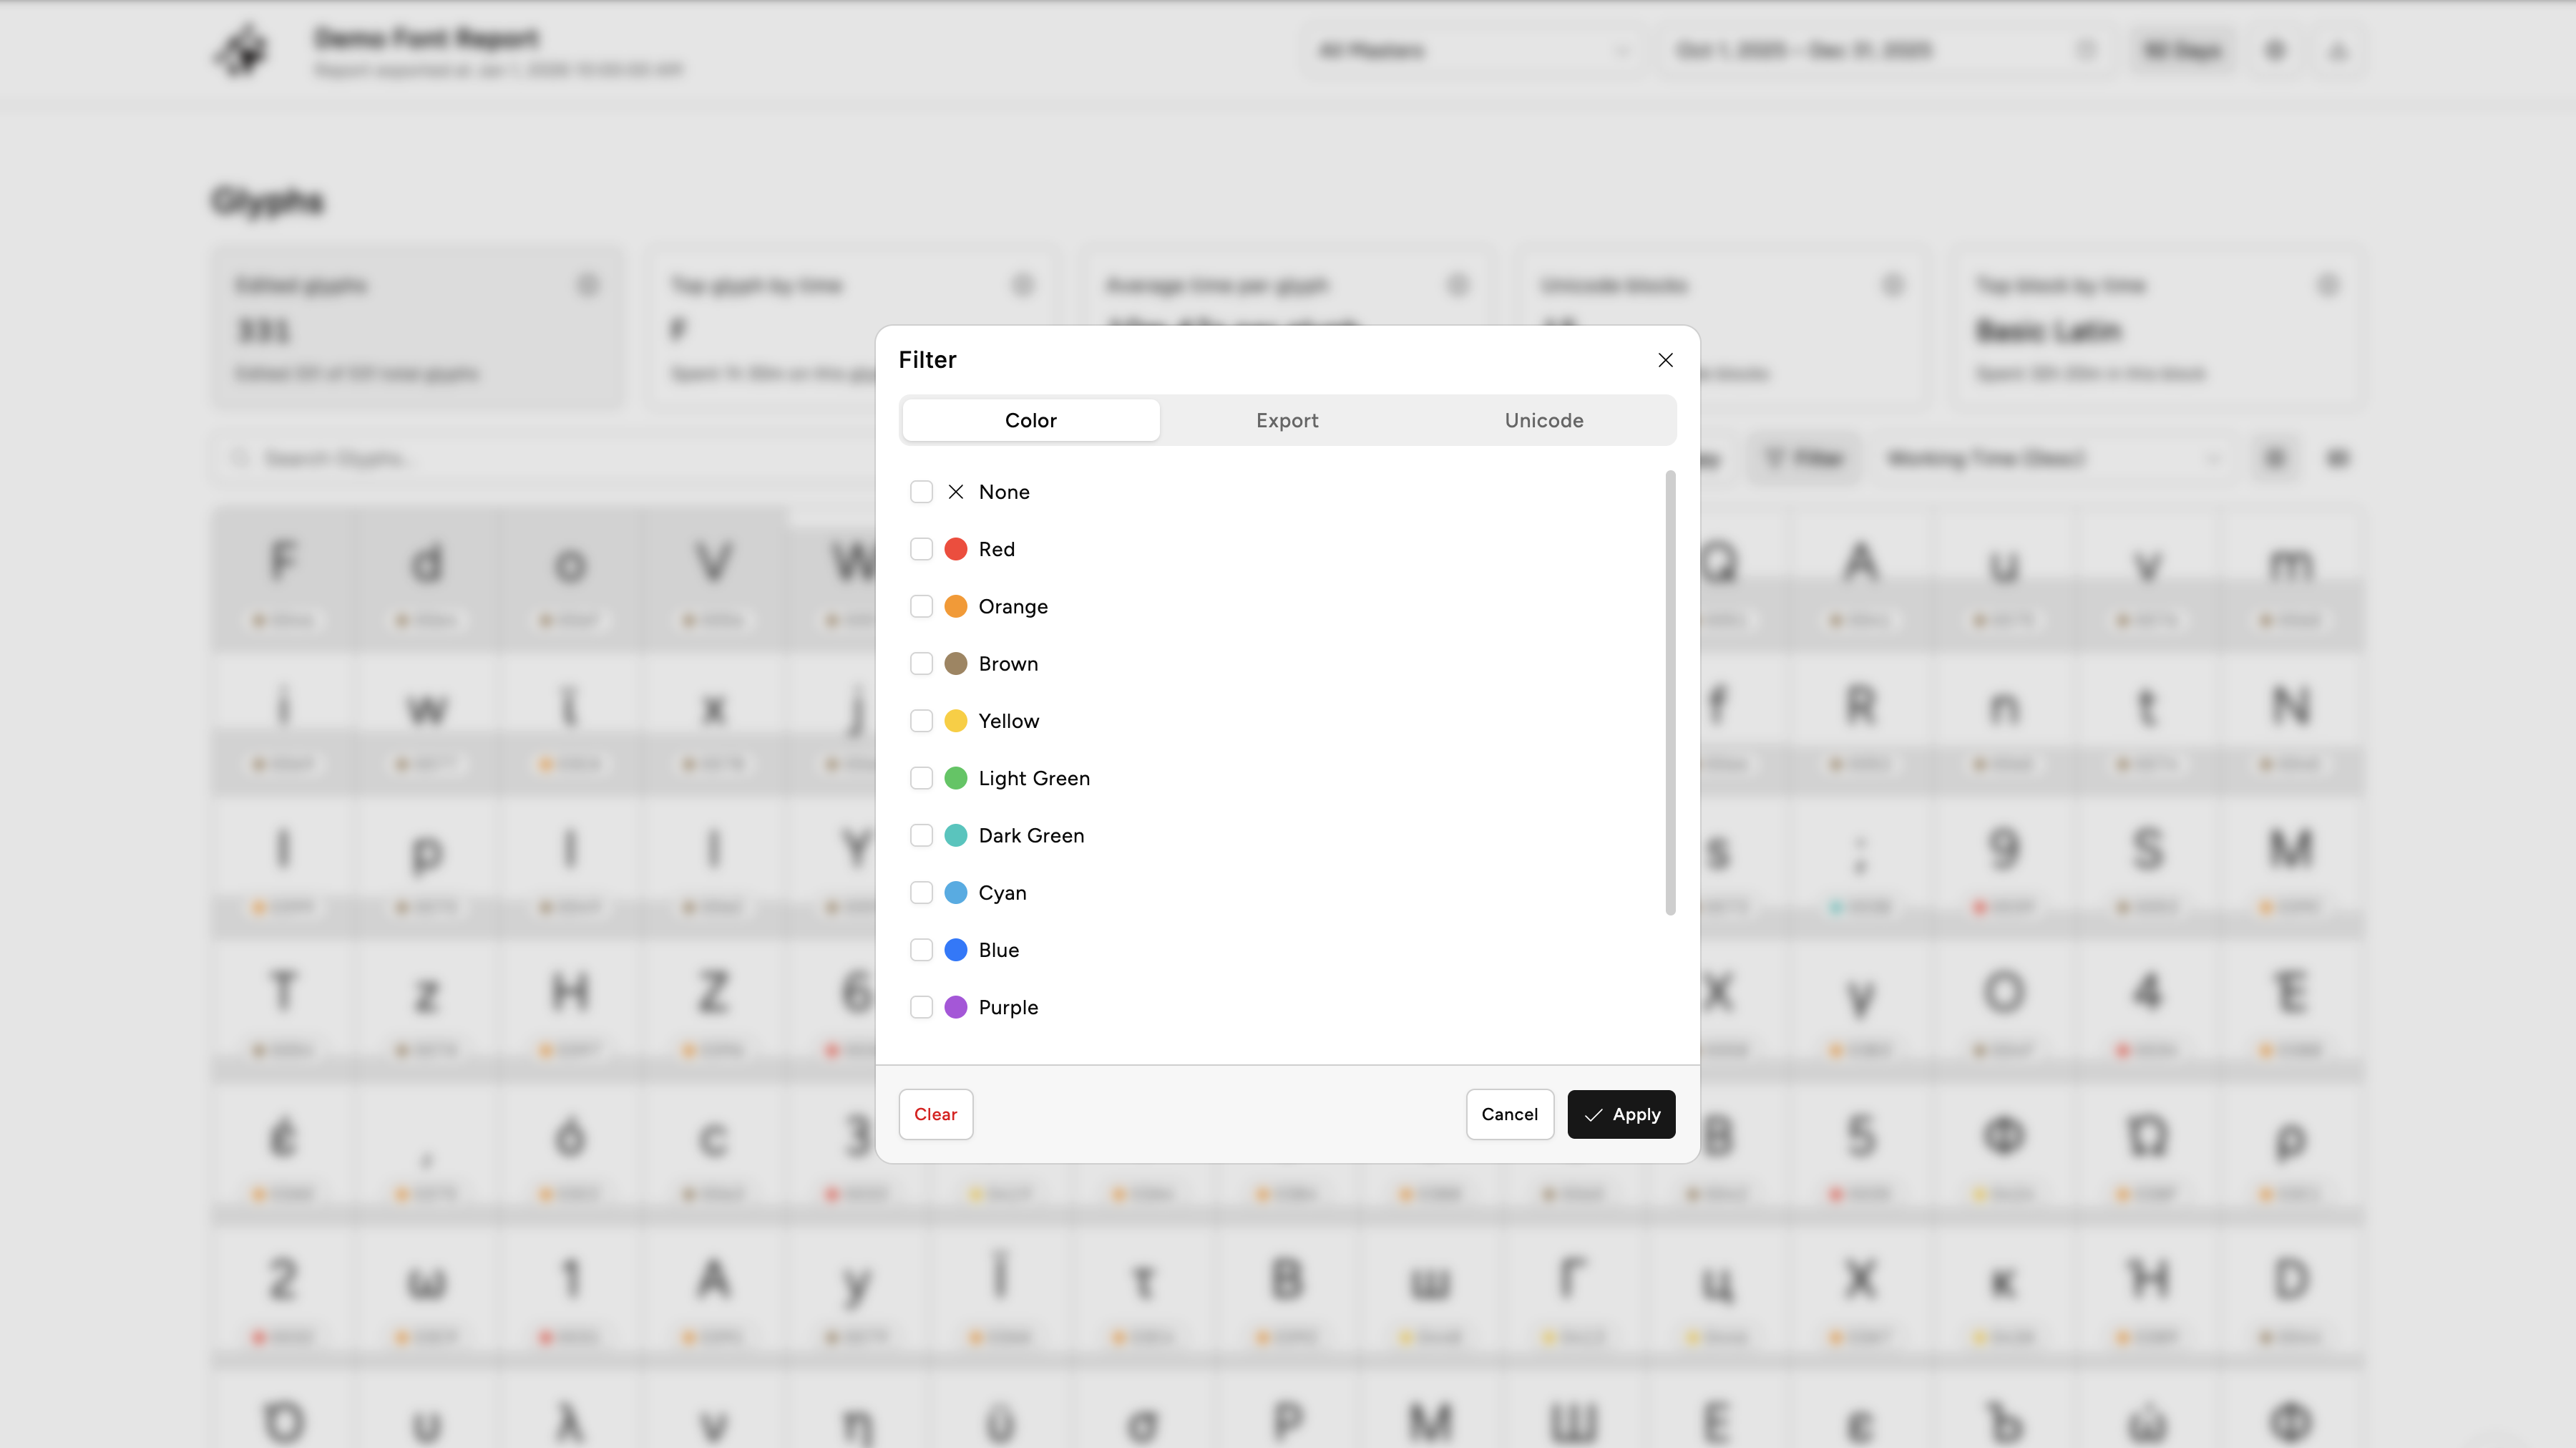
4-4. Using Filters
Beyond date and master, the filter panel offers additional options: color labels, Unicode block, and export status. Filters apply across all charts and tables in the report simultaneously. Combine multiple filters to drill down into exactly the glyphs you need.
§ 5 Pro Features
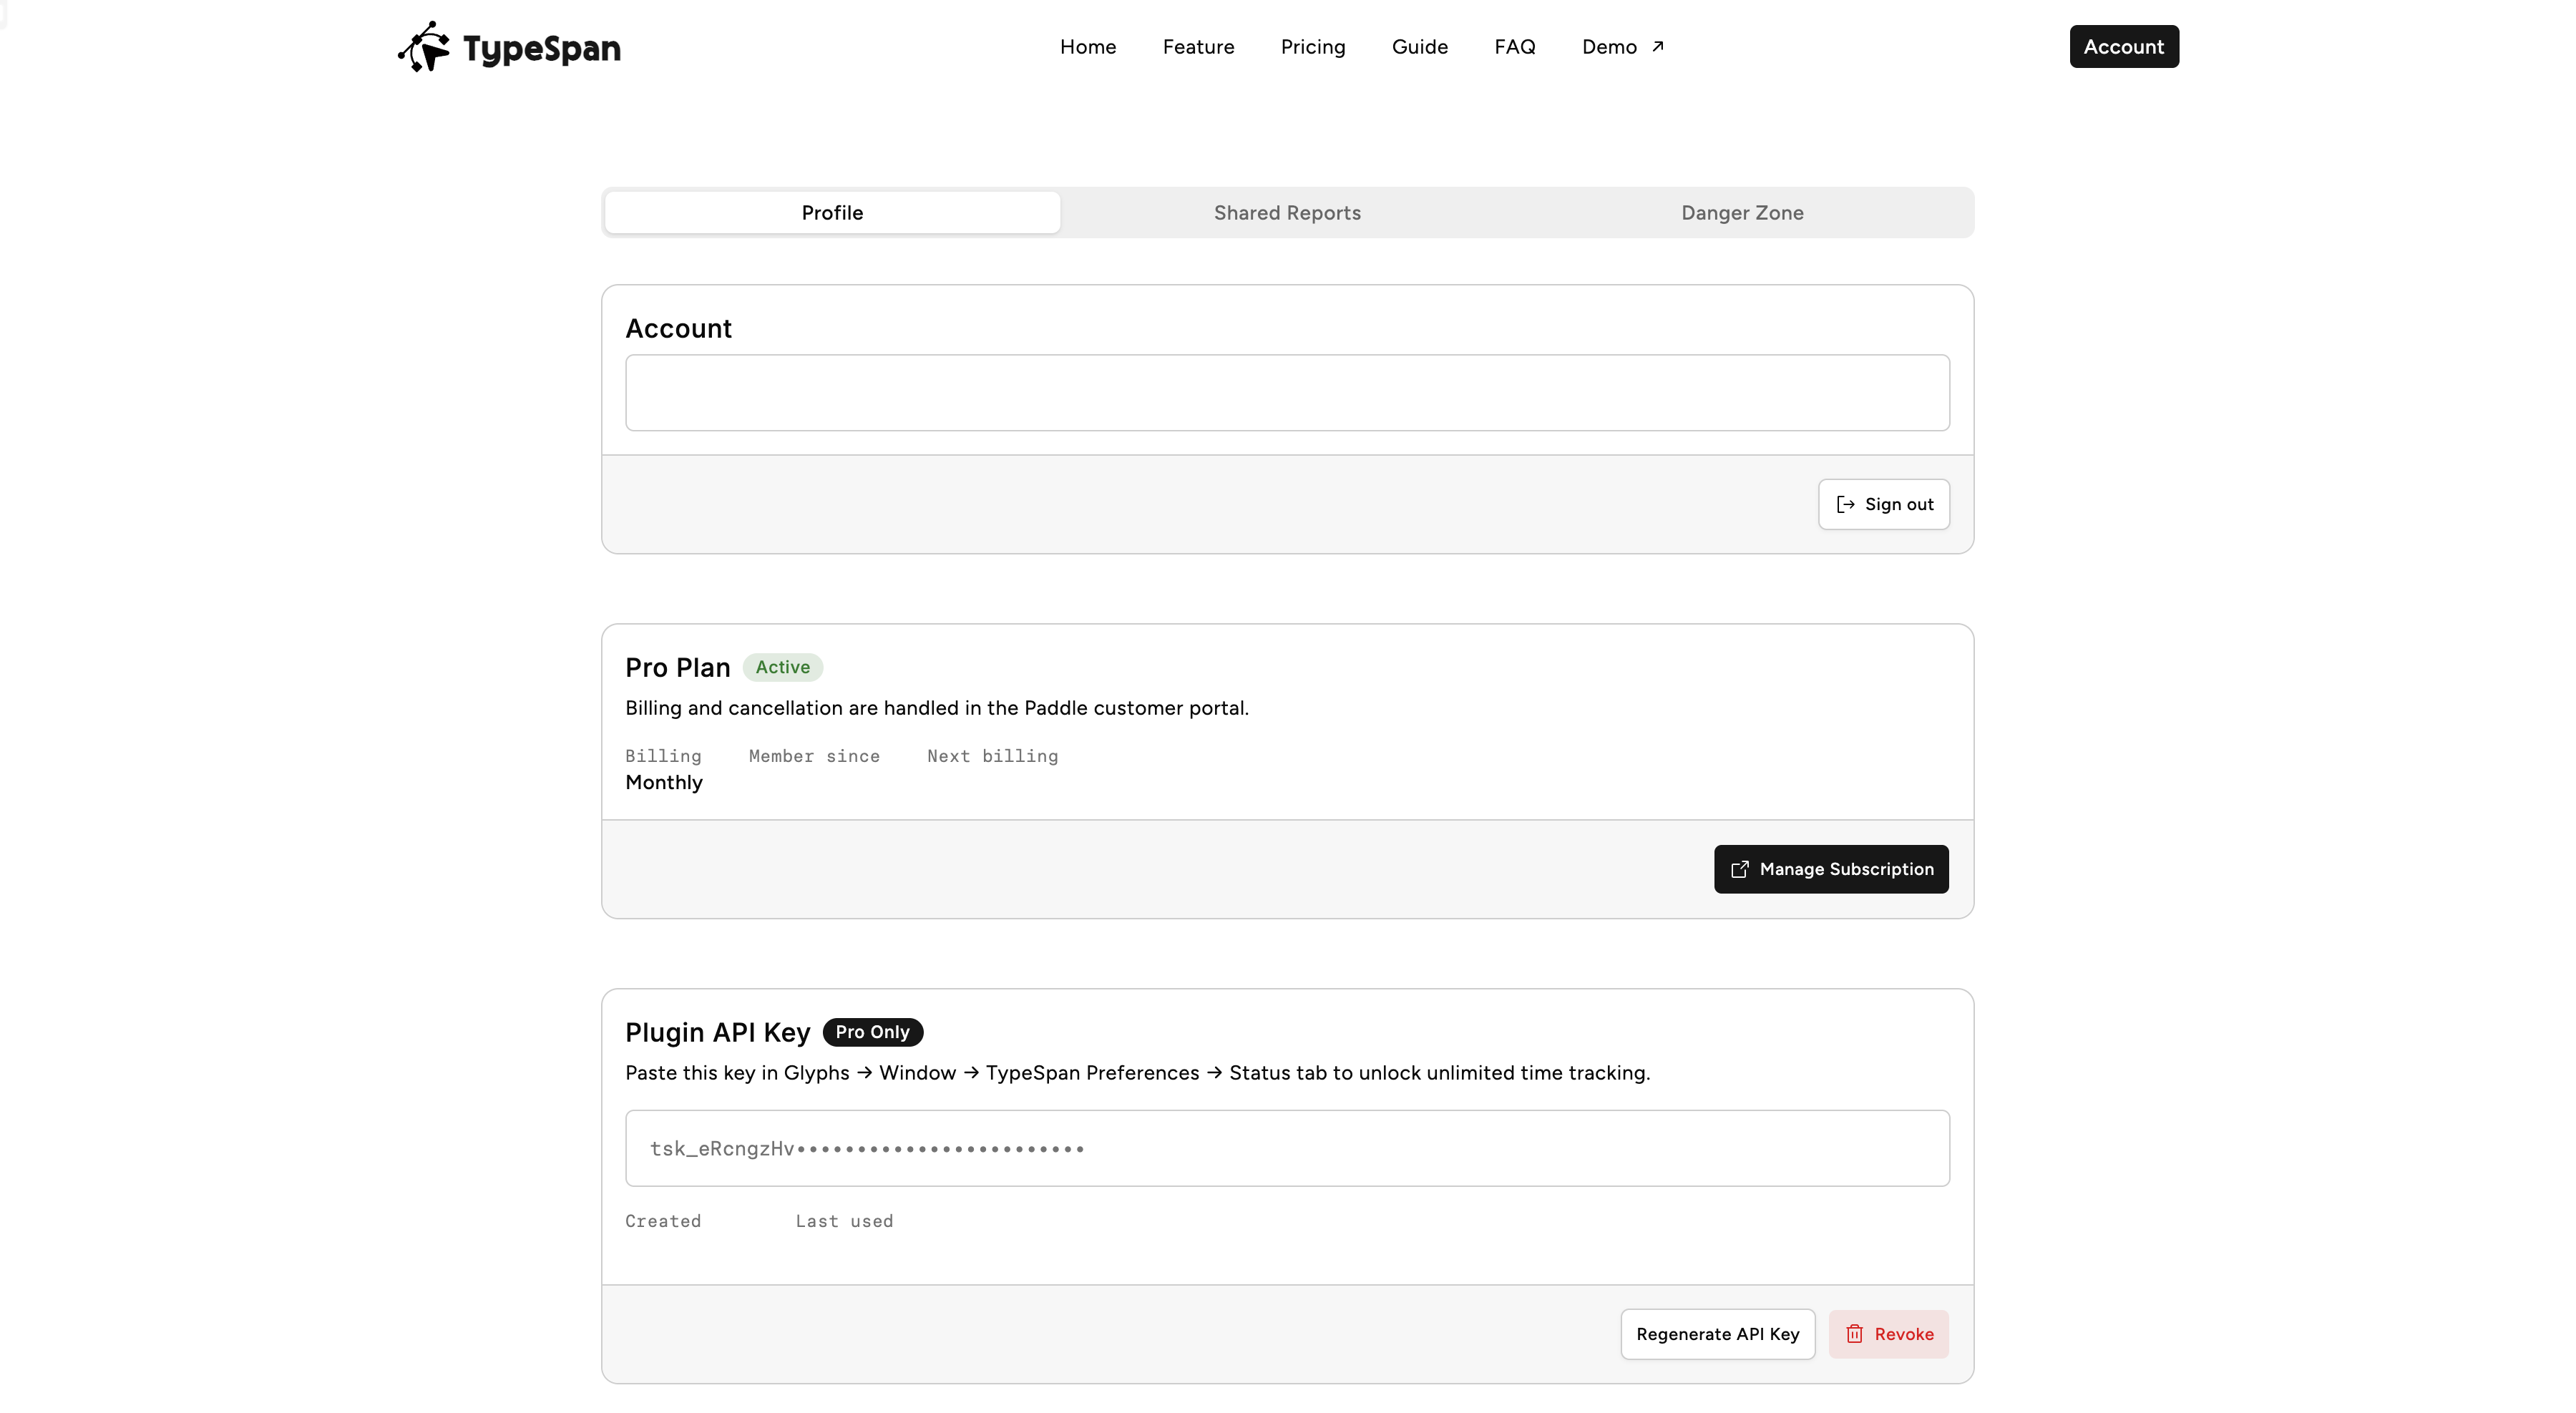
5-1. Generate API Key
To unlock Pro features, you need an API Key. Sign in to your TypeSpan account at typespan.com/account and navigate to the Subscription section . Click Generate API Key to create a new key. Copy the key. This key will only be shown once. But you can regenerate or revoke it anytime.
5-2. Input API Key in Preferences Window in Glyphs
Open Window > TypeSpan Preferences, go to the Status tab, and paste your API Key into the designated field. Click Save. TypeSpan will validate the key. A confirmation message appears when the key is accepted. Pro features are now enabled for all fonts on this machine.
5-3. Share Report
With Pro active, you can create a permanent share link for any report. In the report view, click Share to generate a public URL at typespan.com/share/:id. Anyone with the link can view the report. You can revoke the link at any time from the report page or from your Account page.
§ 6 Contact Us
Have more questions? Visit the FAQ or contact us at hello@typespan.com.
Last updated: June 14, 2026